
New year, new decisions – sometimes good – sometimes not really.
This year decision for me was to build a new 3D printer. I own Prusa Geeetech i3 X printer for 2 years. It is not a bad printer, but as well not very perfect. I tweak this printer a lot to get proper results and good quality prints – but there is limit what you can do on that one. It was just cheap printer from China – good for beginners… but after some time you normally think that maybe it would be great to upgrade.
So I have decided. Upgrade. But – not really upgrade – but I wanted to build a new printer – with bigger available volume for printouts – so I would go for bigger projects without limitations during the design process.
Decision process started.
Question number one – printing volume…
In my case, I have decided to create printer which would allow me to print objects with maximum volume 30cm x 30cm x 40 (37)cm max. I think it is in most cases what you should look like. Unless you know you are going to print really big objects.
Question number two – technology
Of course, for home use, we would go for FFF/FDM printer. This is the standard technology used in all RepRap and other home printers. And it is cheap. Probably…
Now – what type of printer I/we want to use… Of course, we can create RepRap type or PRUSA type printer.
This is fine – tested technology and easy to build. I own one of those. But… first of all – those printers are fine to print small objects. If you want to have good quality at any level/height of the print – I do not think you should go for this type. You can build a printer with very stable frame – but the problem is with the table on which the printed model is located. It is a heated bed – it would keep your model stick well if this is not too big and complicated model. If it is a big or high model with a lot of travel distances – it is starting to be problematic for PRUSA. It could be that your model would vibrate and wave – in this case, it would cause a lot of noise on your product and you would notice the quality degradation withing height.
So – PRUSA type is not the one to go for. Bye…
I know that I need a fixed heated bed – which would travel only in the Z direction. And there we go – I need CoreXY printer type. Something like Ultimaker… within budget (how much you need? look at the end…).
CoreXY printers, in general, are very stable and accurate. Of course, we have different types of those. I have looked around – what can be done and I have found a few which are looking promising.
1. PRINTTABLE – that one is quite cool – using IKEA tables. I found that model later after my printer was built. I think it is worth to mention – please look at THIS LINK to check the design. It is really cool design. And lowering budget.
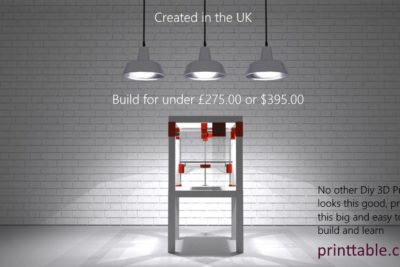
If you decide to build that one – just go to INSTRUCTION section – you would find there all the stl files needed to print. Generally, I like the whole idea – but at the end, I would explain what I’m missing here and why my next build would not use this one idea in 100%. But I can say – it is a great printer – very nice design – and it is worth to go that way and to tip the designer – or just buy some parts from him.
2. HYPERCUBE 3D printer by Tech2C – this was a printer which I was thinking about initially.
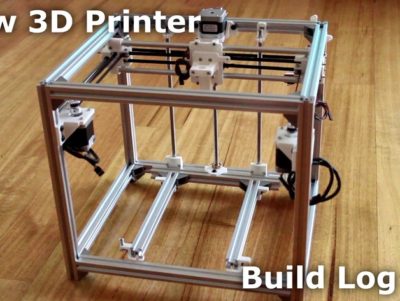
Easy to build, very stable construction, clever solutions. I liked this a lot. I have followed some YouTube movies and I was amazed by the print quality. This was what I was looking for. But – there were some construction solutions which I have found a little strange – so I looked farther if there is something more like this – but for example re-designed…
3. HYPERCUBE EVOLUTION by SCOTT_3D
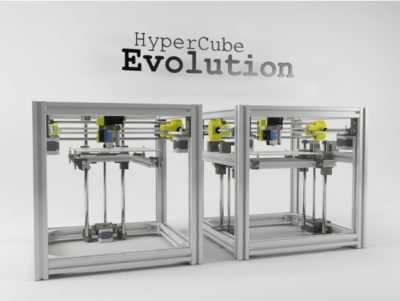
Yes! This was what I was looking for! Same technology as normal HYPERCUBE. Easy to build. Scalable – there is EXCEL sheet which allows you to scale your build. Heated bed with two motors – allowing you to build a bigger printer with very stable Z linear movements.
Very good Facebook group to support you when you have issues. As well a wide range of Remixes for parts – which increase a quality of build. So I have decided to go that way.
Initially, my budget was planned for 400-450 Euros. And this was a start point. Printer volume – 30cm x 30cm x 40cm.
You can check at the end at the final costs… or better not 🙂
Building process
Second step! Think!
This is important – think now how you want to build your printer. First of all – where are you going to print, in which place? In the bedroom? In the office? Both ideas are fine but… it is not really healthy process. You are going to print in plastic…
- pollution/fumes – READ THIS or THIS – you print in plastic – even when using PETG or PLA – it could be a toxic process. Not mentioning ABS or PC-ABS.
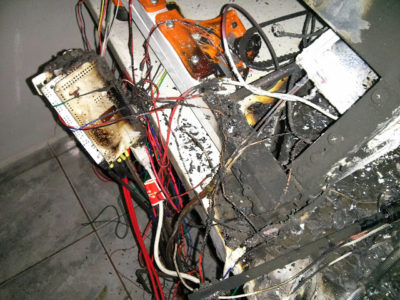
- fire risk – it is using hot ends, heated bed. When building, be sure you are taking care of the risk.I do not think you want to have something like this… so never leave the printer unattended – which is not really easy when printing for 20 hours…
- materials used for printing – I have mentioned already ABS. Great material. As well NYLON – but – when printing in those we need to control very strictly temperature and humidity. This is something to keep in mind. So enclosure could be a good solution… with full environmental control.
So after thinking process, we can go for parts – frame. Aluminium extrusions for T-slots. Look first in your vicinity – you can order all from China – using Hypercube BOM sets – but – it could be 50% more expensive than ordering locally – even in the Netherlands. Why?
- TAX and Customs. Your order value would reach 400 Euros. It means VAT and Customs to be paid. Plus costs – you should add to that price 35% easily.
- The risk in transport and no guarantee. So you are buying something that probably would be fine. Probably… And you assume that all parts are fine… when sent…
- Time – slow shopping is slow from China, fast is fast – but expensive… so extra costs.
I have used initially EXCEL sheet and ordered parts in the Netherlands – for the frame – aluminium extrusions (look at the costs summary at the bottom where are all links to ordered parts). After five days the whole frame was at my home cut to size. All connectors and T-slots were ordered in China. Those are cheap in China, but very expensive in NL… And the risk is low. Waiting time around 2-3 weeks.
1st MISTAKE – I didn’t think well – my thinking process was not well designed! Think 3 times more before starting build. Look what other people did. Go to Facebook group or look at builds on Thingiverse.
Fumes are really a problem. My printer is at home. For my PRUSA I built a case with a fan a long time ago. And during this thinking and ordering process, I made a mistake. I didn’t predict that electronics should be hidden at the bottom of the printer and the whole printer should be in an enclosure.
So when ordering aluminium extrusions be sure to add to the Z extrusions minimum 10cm – plus order the extra set of the XY extrusions. I didn’t – so at the end my frame after assembly was looking like this:
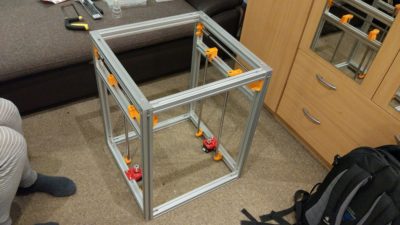
You see the motors at the bottom – but there is no place for electronics. Which is not great.
Second – if you want to build a good enclosure – add some more 10cm of the Z extrusion – in up direction – which would create an extra space for all cables and feeding. Mine is missing this as you can see.
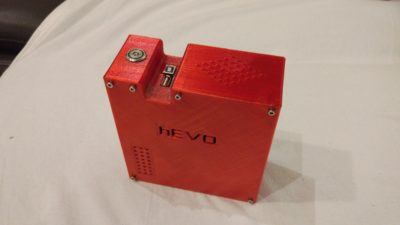
As there was no place for electronics – I had to develop box for my control board…
Printing parts – keep in mind to use PETG with 50% infill – prepare more than 1kg of plastic to be printed
Print all on one printer – to keep the same sizing
Increase a little print temperature to get a better layer adhesion
Printing parts on my PRUSA – PETG from REAL
Printing parts can take a long time! I think I was printing all parts around 3-4 days. At speed 50-60mm/s on my PRUSA. It is important to print all of those on one printer – size. You want to have parts which would work together. If you use a few printers – there is a chance that we would have small differences. Those differences could cause issues when you assemble all parts together.
Print all in PETG – this plastic is strong and it works fine even in 100 deg. C. You can eventually use PC-ABS… but be aware of warping. This is not always what you want. PETG is nice to print – it is easy. I would suggest a temperature around 245 deg. C for printing. Even if this is a little over what is needed – we want to have a good layer adhesion. If the temperature is too low – it could be that your parts would break apart along layers.
What I would suggest as well – is to look at all remixes. I have used the standard set which is very good – but you can notice on Thingiverse as well a lot of remixes – which very often are improving the quality of the build increasing quality of the prints at the end.
After a few days of printing, you would finish with a big box of parts… like on the foto below.
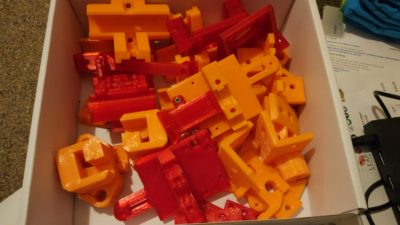
Box with printed parts – PETG
One technical case – for screws (M3) I was using bras insets. The same which are used in the original Hypercube Evolution project (size of the bras insets – 5x5x3 mm). Installation of those is really easy. This is how to do that.
Take long M3 screw through the hole if possible. Turn one time the inset on the screw. Heat soldering iron to around 300-400 deg. C. Put the tip of the soldering iron into inset – and gently push into the hole. It should slowly slide inside. With M3 screw set the inset to be ideally in the centre. Wait for cool down and then unscrew. You should have nicely mounted inset. And – PETG is very strong! You can see some of the insets on the photo above. If you can’t use M3 screw to protect the inset – then be sure that no plastic went inside the inset when you push this in. If there is any plastic – remove that. The problem is – that if there is any plastic inside the screw – it would be very difficult to screw the parts together. So in the end, you would spend a lot of time cleaning holes. If you look at remixes – there are already some with parts which use normal screws in place of insets… I like insets – but some people had a lot of headache with those…
ELECTRONICS – this is most important! It is heart of your system which should be well designed and good quality… what to choose?
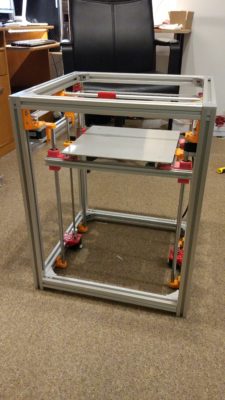
Fully mounted frame
Selecting control board – generally, we have a lot of possibilities. But first of all – keep in mind this printer should print well – so select a board which is 32bit – this would give you good quality, fast processing of data, allow you to control remotely your print progress. It would be great to have a nice touchscreen to control all.
I have decided to choose Lergde-S board with USB module, 2nd extrusion module, MOFSET module for heated and power module – this was risky as this board was not really known. In the end, it was easy to install and setup. But – there is so far no good way to remotely control this board. And Octaprint is not working very well with his printer electronics.
A better solution is to go for DUET WIFI with a touchscreen. It is good quality and you would support open source community if you buy from designers. Plus you have a guarantee… unfortunately it would be 50-80% more expensive…
Be sure you buy as well a very good power supply – unless you like to have some fire. It should have more than 30% power over what you expect to use. I bought 12V 30A power supply – expecting power usage at the level of 250-280W at 12V. My heated bed – as mentioned before – was as well 12V – 180W – so together with extra 100W for the double print head – we have around 280W – plus 20W for light. My plan was as well to extend this in the future with the 2.5-3W laser. For engraving and cutting. Laser cost is extra 60-80 Euros. But not using so much power.
The total cost of electronics – without heated bed was around 120Euros in total. If you are low on the budget – you can go for RAMPS board or similar Arduino compatible board with extra screen – or better – with OctoPrint software installed on Raspberry Pi with a touchscreen! (This is what want to do with my old PRUSA in future – it is now working under OctoPrint and it is a very nice solution even for cheap boards). But – I think you would still oscillate close to 100Euros…
In the end, I have finished with Lerdge-S board. This seems to be a good 32bit board but – it is not working well with OctoPrint! Keep this in mind. What is positive – the whole calibration and set up took me around 2 hours – so it was very fast. All done using touch screen or configurator on the website. Unfortunately, there is, for now, no backup for config – so I made plenty of photos.


When you calibrate – be sure you use adequate measurement tools as on the picture.
It costs maybe 5Euros with shipping – and can really increase accuracy. In the end, you want to have a nice box printed – the calibration box – with size 20x20x20 mm. My box was perfect just after initial calibration!
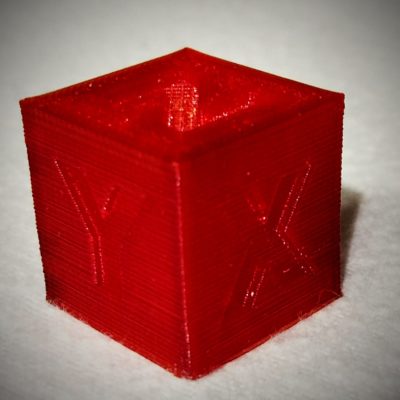
Calibration box in PETG – first one
Cables… cables… cables… There is a lot of those! Plan those before build. Look how other did this!
Cables… the standard problem for every printer. Plan how you want to set those. There is really a lot of cables – 6 endstops – everyone has 3 wires, 5-6 electric motors – 4 wires everyone, Touch sensor – 5 wires, heater – 2 wires, temperature probe – 2 wires, cooler for filament – 2-3 wires, cooler for nozzle – 2-3 wires, heated bed – 4 wires, led for lighting – 2 wires, filament detector – 3 wires plus some extra – add 10% – there is something always to be connected…..
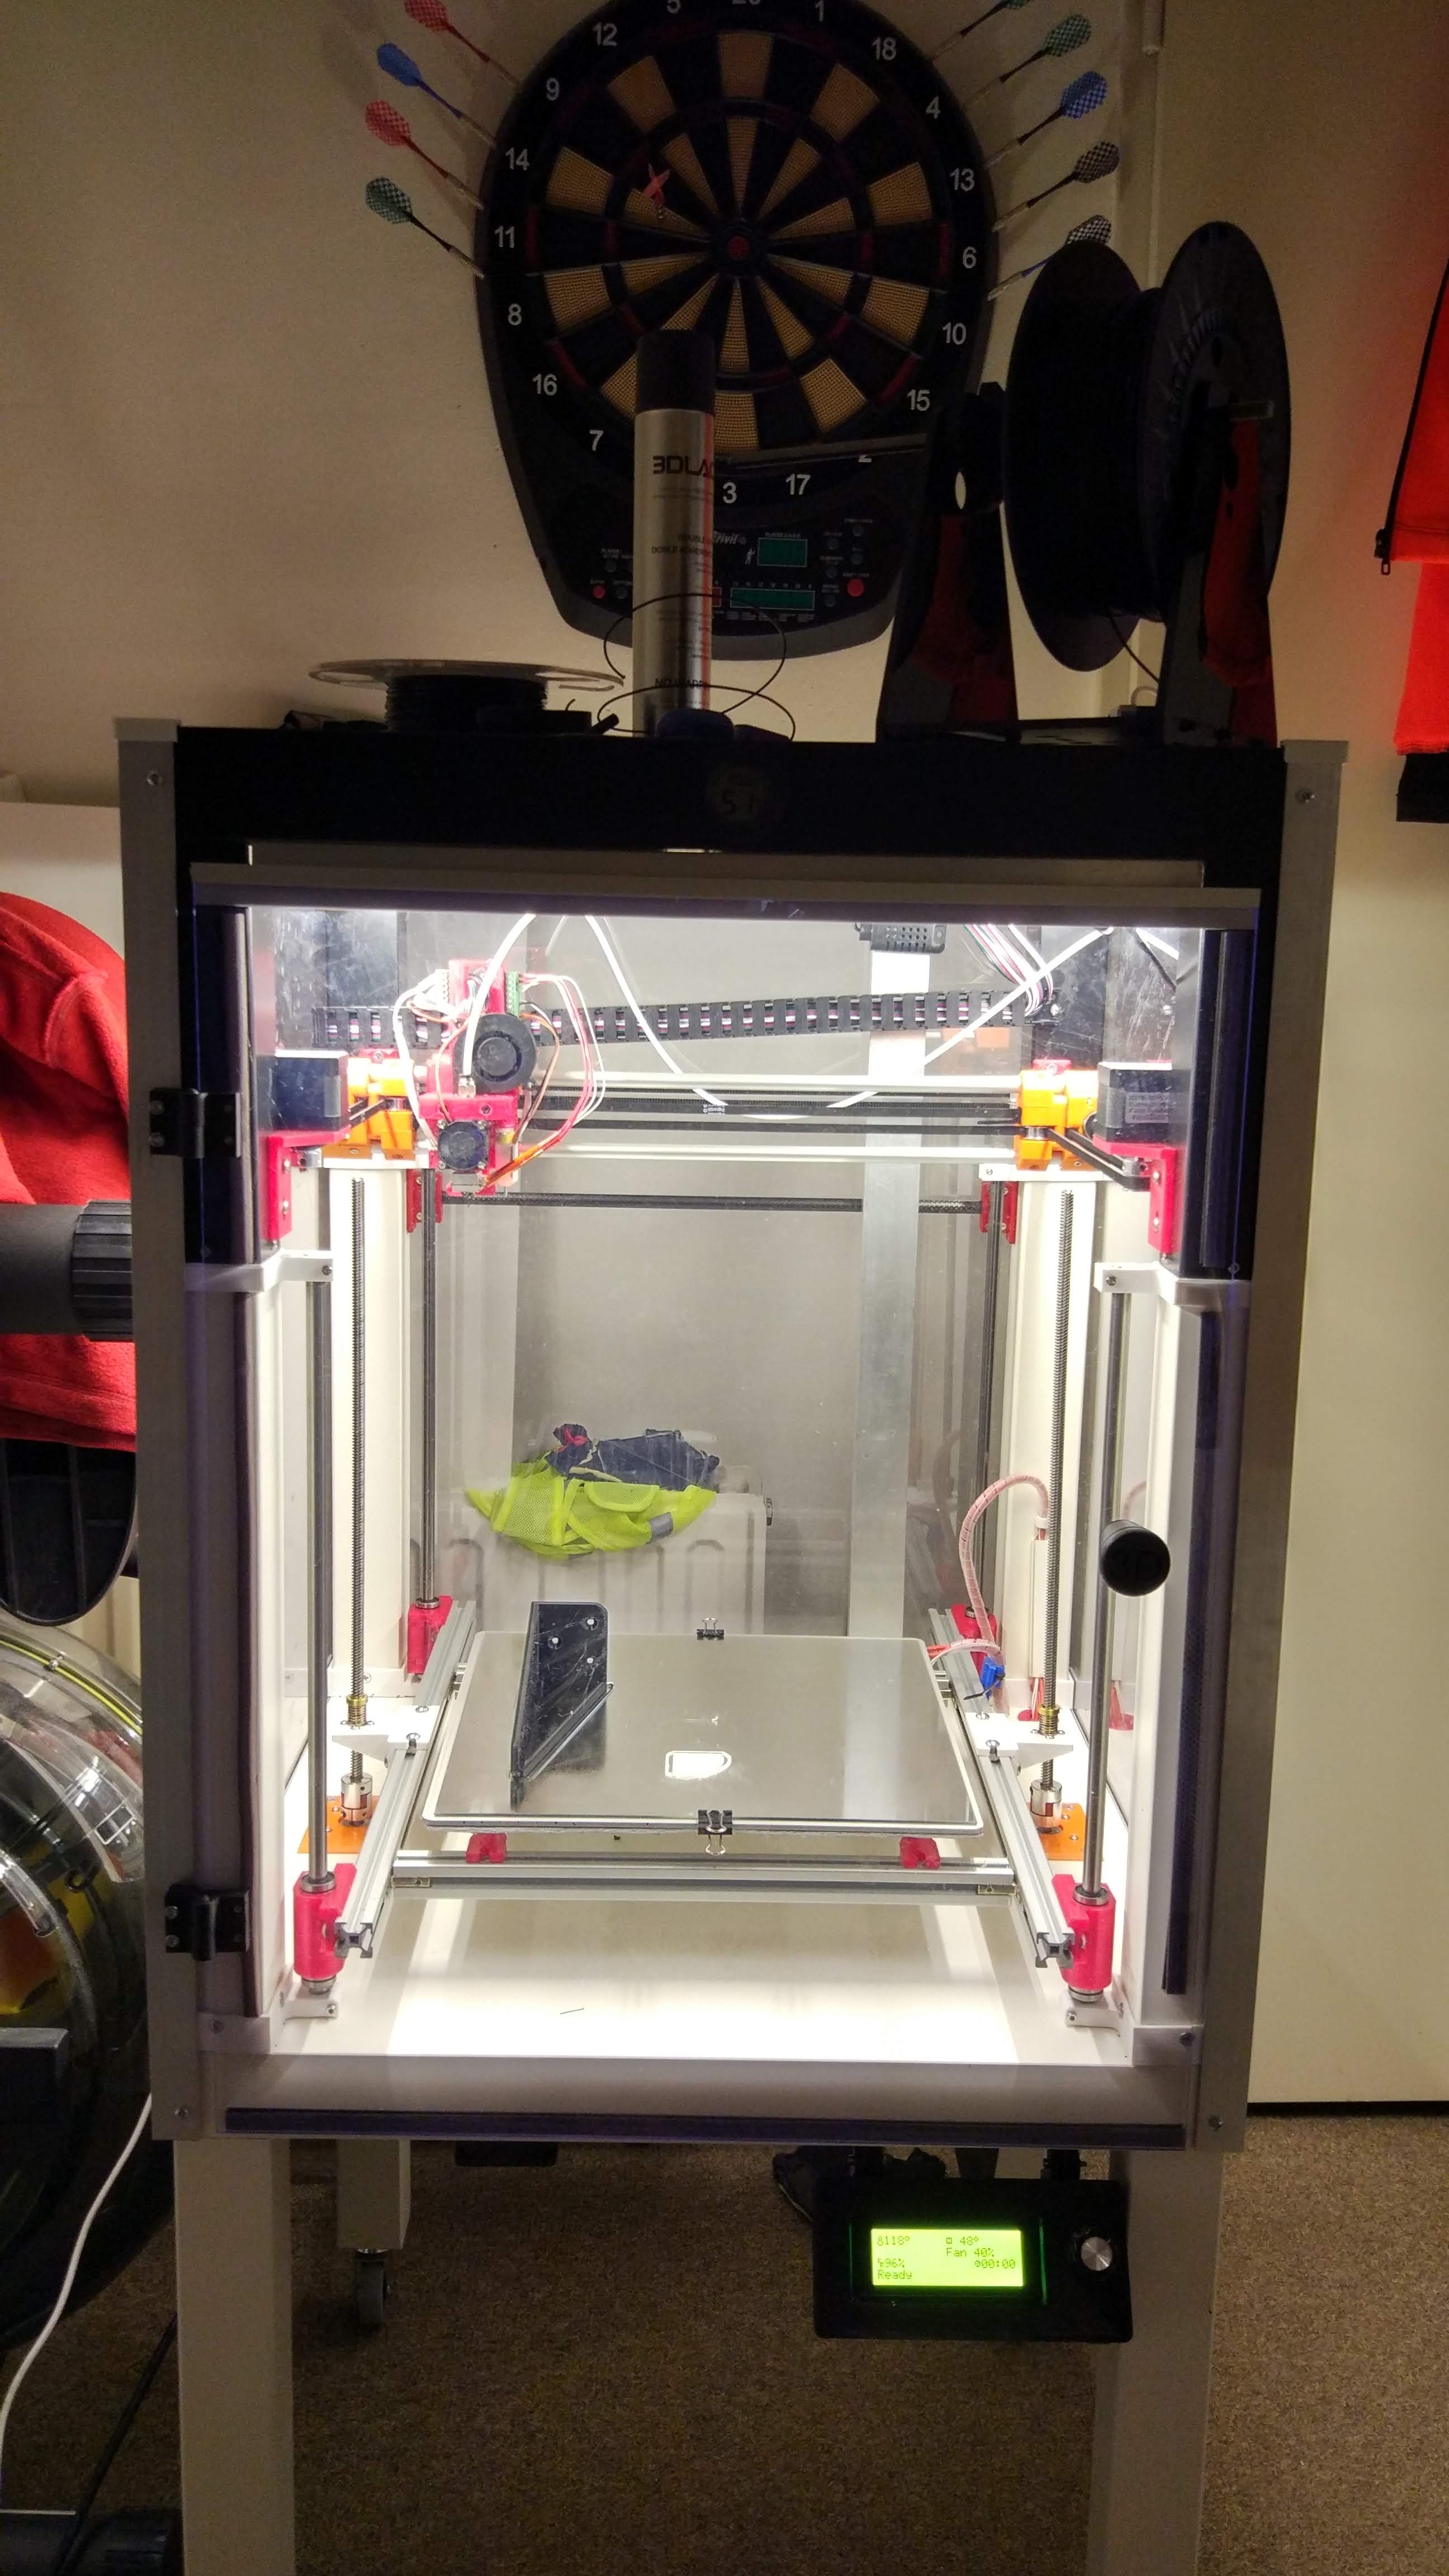
I have decided to hide most of the wires in extrusions and cable cases – standard one which you use at home when you need to put some extra wires on the wall. In the end, I had no visible cables. Plus I have used cable chain from Aliexpress (20x10mm) to deliver all cables to print head. My final result was looking not so bad.
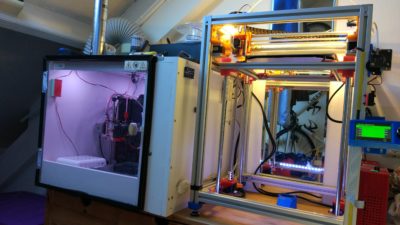
Final printer setup – on the left old PRUSA in the enclosure – on right my new printer
The whole wiring took me one day! It was including as well installation of new connectors which fit motherboard. Initially I was thinking to use Dupont type connectors – but unfortunately, those were not well connected – and sometimes I was missing the contact. Be sure all your connectors are well connected. And your heater is well mounted as well. And – heated bed cables are protected. My CR10 heated bed (310x310mm) had good wires, so what was only necessary in that case was a good protection of the wires when the bed is moving. This is why I have developed a small cable holder. After that cable close to the bed connector was stable and not moving. This is all about safety.
Total time for set up and assembly took me around 3 working days. Adding waiting time for delivery and some mistakes which I needed to fix – it was 1,5 months from the idea to the finish of the build.
Print quality is very good – I like the board – even with small issues which this product has… like not perfect auto levelling, no backups, no way to control this by Internet etc… I can say that the Lerdge-S board is not so bad. It works, it has some extra features, it has easy to use interface, during the start of the printing you can fix starting height of the head, you can with a click speed up or slow down printing, the interface is very easy and setup as well. So it works as expected. But if you like OpenSource solutions and you are a kind of hobbyist – I would suggest looking for open source solutions – which are very often more flexible.
After 1,5 month I have finished with a new good quality printer…
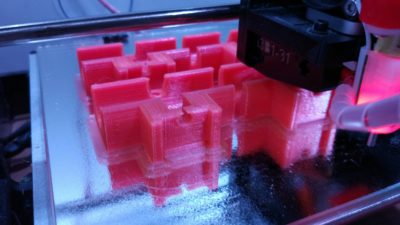
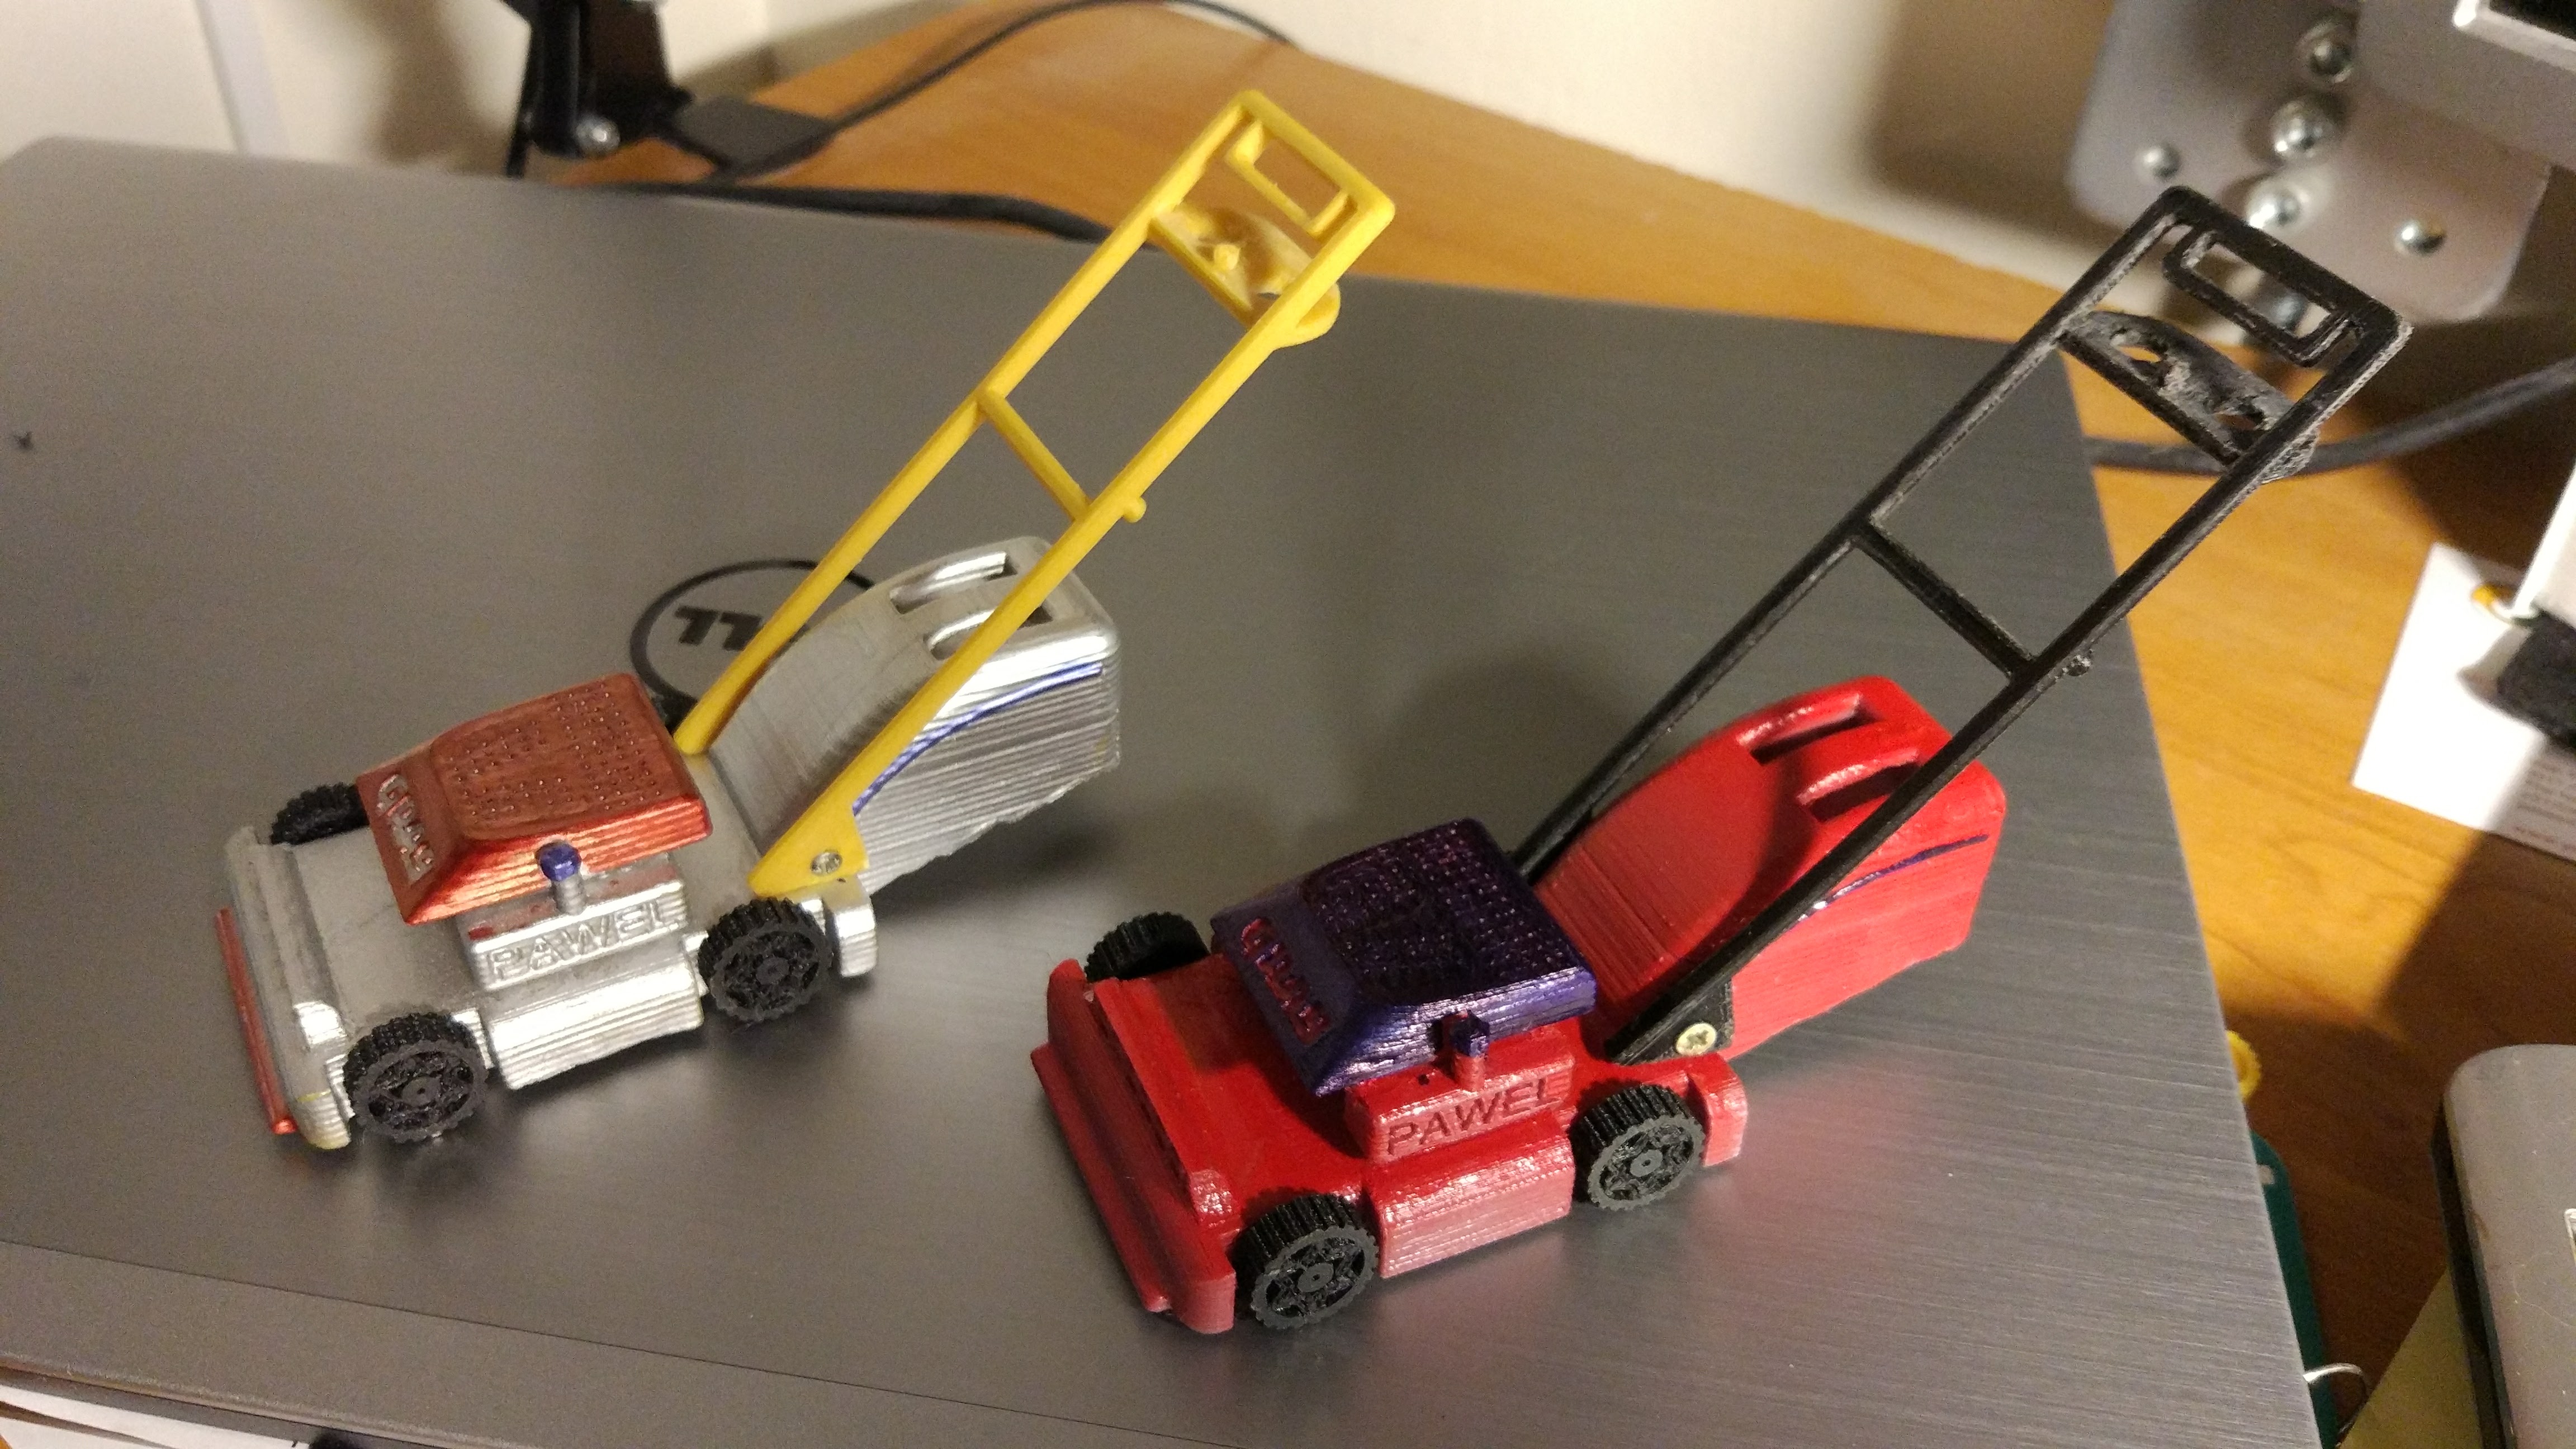
 Dual colour test printing


My mistakes… and what next…
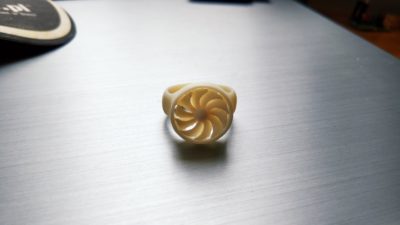
OK – it works. It prints perfectly. Just look at the ring below. It is a normal ring, print with ASA, without any special care… just 0.1 layer hight. No printing lines… It is much better than my PRUSA. Much better!
But…
- No enclosure – not good… fumes
- Electronics not hidden – all in the box. Box looks fine but I should think of how to do that better. Box has a good cooling, the design I think is quite good… but still – not os easy to organise all cables.
- Budget – over budget… my plan was 400-450 Euros… I didn’t manage. Look at my full price list with links HERE
- Cables – I should focus more on a good solution for cabling print head. In my case all cables are separate. Next build would include a connector. I saw some people were using DB25 or LPT type connectors. Those are fine – but I have something different in my head. A fast connector which I was using in some other prototype builds. This would come…
What is my plan? I want to upgrade my PRUSA – using Hypercube Evolution – modified. I have spent some time going around and looking into different solutions. I like PRINTTABLE idea. But – I want to have printer fully in the enclosure using still CoreXY technology, with temperature control, moisture control, automatic cooling, with fast printability. And I want to re-use all possible parts form my PRUSA. And I have now very low budget for all of that – max 100 Euro and I want to be strict with this budget. It would be difficult… for sure.
My idea is to mix PRINTTABLE project with Hypercube – it would cost me some extra design for XY installation. I would keep my GT2560 board for steering – but I want to use my old ODROID U3 as the main printing computer with OctaPrint on it and with Klipper firmware. It looks promising.
I want as well protect the printer from fire… using temperature sensor inside the enclosure – which would be connected to my ODROID board. In case of high temperature inside the enclosure or smoke detection – it would switch off power and activate CO2 gas to destroy the source inside the enclosure. It should not be very difficult to do. Plus using my Z-wave based alarm system – it would activate the siren and push notification to family mobile phones.
I’m not in hurry now – but I want to be sure that this new/old modified printer would protect as well my family from fumes and fire. After finishing this new project I plan to implement similar solutions to my standard Hypercube Evolution printer – as well closing this printer in an enclosure with automatic ventilation. It would not be so easy… but should work.
Hope you enjoyed my short build story… I just like technology and possibilities which we have around… and the way how we can use this technology to build new things and develop new solutions. Do not hesitate to contact me if you have any questions… Or join Facebook Hypercube Evolution group or English Lerdge group…